Homemade Fur Ushanka: A Quick and Easy Guide
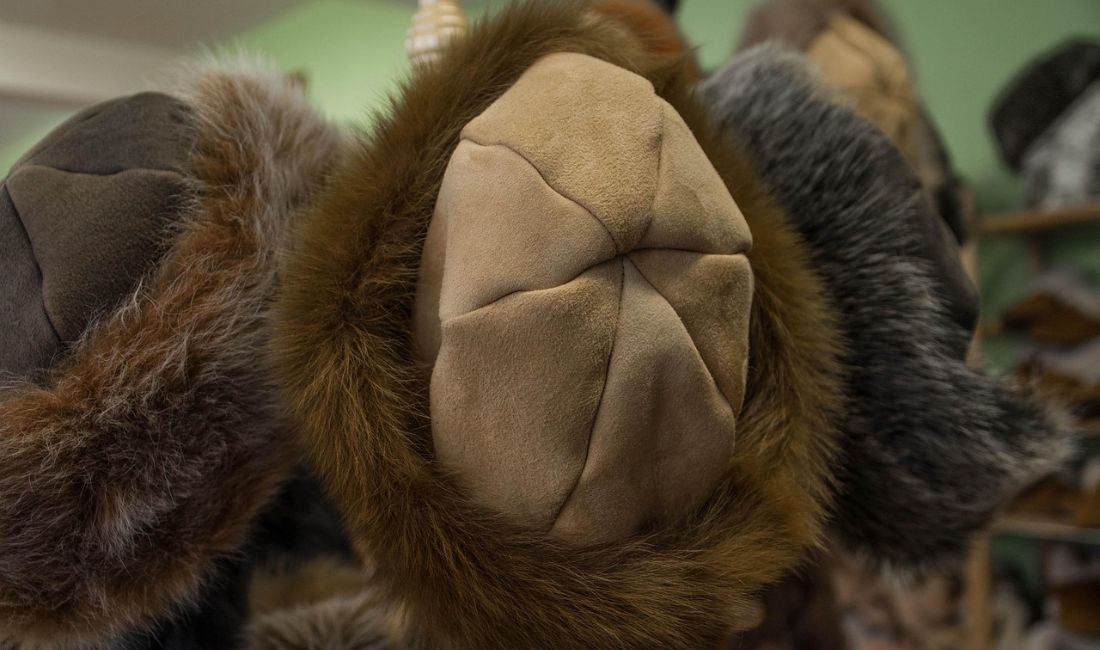
The primary challenge in crafting a fur ushanka lies in selecting the material that delivers both warmth and sophistication. Choosing between natural or synthetic fur depends largely on personal convictions and preferences, yet each option possesses its own distinct characteristics.
Aurelia
04 May 2025
When winter sets in, the quest for headwear that is both warm and elegant naturally arises. The ushanka, that traditional hat of Russian origin, answers this need to perfection with its enveloping shape and fur construction. Combining comfort with optimal protection against the chill, it remains a staple for anyone looking to brave the harshest temperatures. Yet, finding an ushanka that matches both one's taste and budget is not always straightforward. This is where crafting your own fur ushanka becomes a compelling alternative. This detailed guide accompanies those wishing to try their hand at sewing an accessory that blends tradition with craftsmanship, offering all the keys to master every step, from selecting materials to the final assembly.
How to Choose the Ideal Fur for Sewing an Ushanka: Criteria and Practical Tips
The primary challenge in crafting a fur ushanka lies in selecting the material that delivers both warmth and sophistication. Choosing between natural or synthetic fur depends largely on personal convictions and preferences, yet each option possesses its own distinct characteristics.
Differentiating Real Fur from Faux for an Informed Choice
It is essential to know how to distinguish authentic fur from a synthetic fabric to avoid any disappointment. Several simple tests help identify their true nature:
- Blow on the fur: faux fur tends to reveal uniform hairs, whereas real fur presents a natural variation in lengths and shades with a visible, dense undercoat.
- Needle test: by piercing the fur, strong resistance indicates natural fur, whose base is much more compact than the lightweight knit of synthetic fabric.
- Visual test: observing the hairs on a mannequin can help finalize your decision. Synthetic hairs often appear dull and flat, lacking sufficient depth.
- Flame test: approaching a few hairs with a flame helps complete the verification. Real fur releases an odor similar to burning hair, whereas synthetic burns like plastic.
These tips protect against purchasing errors, especially when opting for online shopping where touching the material is impossible. Note that fur quality is decisive for the longevity and comfort of the ushanka.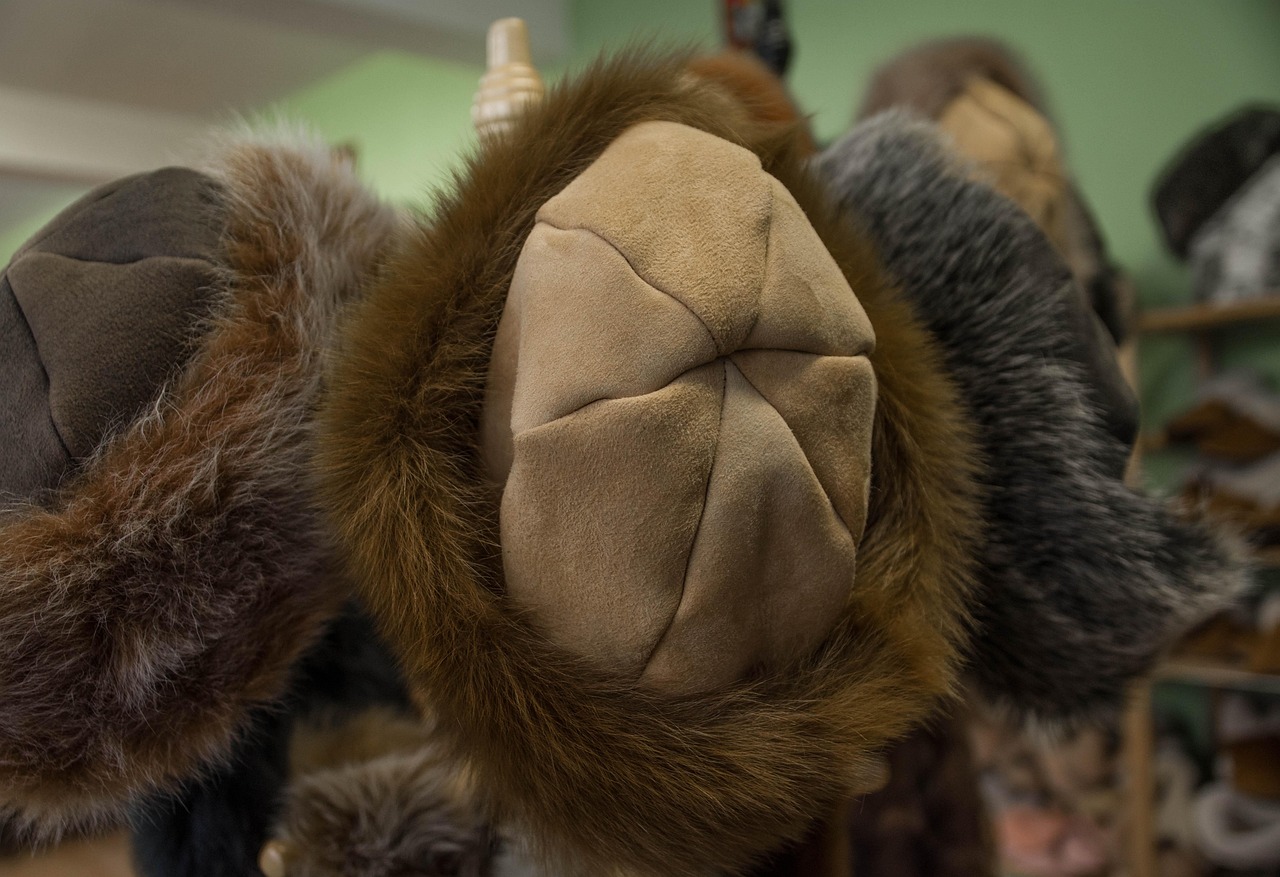
Essential Accessories for Ushanka Sewing
To successfully carry out an ushanka sewing project, having the right tools on hand facilitates every step:
- Sturdy sewing needles for working with thick fabrics.
- Resistant thread suited for fur and lining fabric.
- Pins to hold pieces together before stitching.
- Sharp scissors for precise cutting.
- Pattern or template to guide tracing and cutting.
More information here :
https://leclicincontournable.fr/sur-la-mode/comment-faire-une-chapka-en-fourrure.html
These elements guarantee a refined and durable result, particularly when the stitching requires achieving a flawless join between fur and lining.
| Recognition Test | Natural Fur | Synthetic Fur |
|---|---|---|
| Blow on the fur | Hairs of varying lengths and shades, visible undercoat | Uniform hairs, same lengths |
| Needle test | Strong resistance, difficult to pierce | Easy to pierce, light fabric weave |
| Visual test | Thick and dense hairs, great volume | Flat hairs, lacking density |
| Flame test | Odor of burning hair, burns slowly | Plastic odor, forms hard beads |
How to Make an Ushanka: Step by Step, from Pattern to Cutting
Once the materials are gathered, the actual creation of the ushanka can begin. The secret to successful manufacturing lies in the rigorous organization of the steps, particularly the creation of the pattern and the precise cutting of the pieces.
The Sewing Pattern: The Key to Sewing a Successful Ushanka
The pattern represents the cutting and assembly blueprint for the ushanka. It can be obtained in several ways:
- Inventing a custom pattern for an original creation tailored to the head circumference.
- Downloading or printing an existing ushanka sewing pattern from specialized sites, guaranteeing proven proportions.
- Using a reversible pattern, practical for creating a two-in-one ushanka.
Note that accurately reproducing a pattern onto tracing paper is essential to avoid mistakes during cutting.
Precise Cutting of Fur and Lining
This step is crucial to ensure the hat holds its shape well:
- Place the pattern on the fur, respecting the grain and direction of the hair for an aesthetic finish.
- Carefully trace the outlines with tailoring chalk or a specialty fabric pen without damaging the material.
- Cut each pattern piece twice: once in the fur, and once in a soft interior fabric such as fleece or wool.
- Be sure to leave a margin of at least one centimeter for the seams.
- Take care to cut cleanly to facilitate assembly.
This rigor contributes directly to the final quality of the headwear, especially regarding the often delicate finishes of the ear flaps.
| Steps | Description | Practical Tip |
|---|---|---|
| Pattern reproduction | Trace and cut out the hat layout | Use tracing paper, check measurements |
| Pattern placement | Position on fur following the hair grain | Make discreet markings |
| Cutting | Cut each piece twice (fur and fabric) | Leave at least a 1cm seam allowance |
| Preparation for sewing | Assemble and prepare pieces for assembly | Check cut quality |
Assembly and Ushanka Stitching: Key Steps for a Robust and Aesthetic Work
After preparing the pieces, putting the ushanka together requires method and patience. Each element must be joined to guarantee warmth and solidity while preserving the traditional look typical of the Russian toque.
Assembling the Crown and Flaps: The Base of the Headwear
The crown forms the conical upper part of the ushanka. It is generally composed of several assembled pieces:
- Four sides forming the upper structure, joined edge to edge.
- Two central parts to perfect the shape and ensure a good fit.
- The ear and neck flaps assembled separately, then attached.
- The front visor, often reinforced to protect against harsh weather.
It is important to neatly stitch each seam by machine or by hand, depending on preferences and available equipment. Ensure that the seams do not cause folds or discomfort.
Integrating the Fur onto the Lining
The crucial step consists of sewing the fur lining inside the ushanka:
On the same subject:
- Pregnant Selena Gomez? She inspires 2026 maternity fashion
- Monoprix: fashion and accessories not to be missed up to –50%
- Simone Pérèle 2026: French lingerie sales -50%
- Assemble the fur pieces just like for the crown.
- Attach the lining precisely to the inside of the main fabric by sewing right sides together.
- Leave an opening to turn the ushanka right side out.
- Finish with a discreet hand stitch to close the opening.
This method guarantees a cozy interior while maintaining the cohesion of the ushanka.
| Part | Number of Pieces | Description |
|---|---|---|
| Crown | 6 (4 sides + 2 top) | Creation of the high, conical shape |
| Ear/neck flaps | 2 | Protect against wind and cold |
| Visor | 1 | Increases forehead comfort |
Tips for Personalizing and Mastering How to Make a Fur Ushanka
Once the basics are mastered, personalizing the ushanka opens up a wide field of unique creations. Accessorizing or tailoring the piece guarantees a personal touch and sometimes better functionality.
Adding Finishes and Ornaments
For an ushanka that stands out from the ordinary:
- Integrate delicate embroideries or appliqués.
- Choose decorative buttons to fasten the flaps.
- Use braid or lace around the brim of the ushanka.
- Vary the mix of furs or colors for a patchwork effect.
Adapting Size and Shape According to Needs
For a perfectly fitted ushanka:
- Precisely take the head measurement before cutting the pattern.
- Allow a slight ease margin so as not to compress the head.
- Test the fit during the assembly of the crown.
- Modify the height of the flaps depending on whether more or less protection is preferred.
These adjustments improve comfort and give the ushanka a highly appreciated bespoke look.
| Personalization Technique | Purpose | Tip |
|---|---|---|
| Embroidery and appliqués | Decorate and personalize | Use contrasting threads for greater visibility |
| Decorative buttons | Close flaps with style | Choose vintage or original buttons |
| Braids and laces | Bring volume and texture | Attach securely to ensure durability |
| Colors and patchwork | Make it unique | Mix compatible furs |
Why Learning How to Make a Russian Toque is a Valuable Skill in 2025
Beyond the practical aspect, knowing how to make an ushanka or fur toque means learning an art and perpetuating an ancestral tradition. In 2025, this craftsmanship takes on several engaging dimensions:
A Garment at the Crossroads of Culture and Functionality
The ushanka is above all a strong cultural symbol. It represents human adaptation to extreme climates, an alliance between ingenuity and aesthetics. By mastering this technique, one claims a piece of this history while meeting a contemporary need for protection against the cold.
An Ecological and Economical Gesture
Crafting your own ushanka helps limit textile waste and avoid overconsumption. Choosing ethical natural fur or quality faux fur aligns with a responsible approach. The manufacturing cost is often lower than that of a ready-made ushanka purchased in stores, providing significant financial savings over the long term.
Developing a Rewarding Skill and Passing on a Heritage
This artisanal know-how proves useful for various creative projects and stimulates creativity. In 2025, many value this skill both for leisure and for the originality of the designed pieces. Furthermore, sewing an ushanka or a Russian toque becomes a family or community activity that encourages the sharing of techniques and experiences.
| Dimension | Advantage in 2025 | Concrete Example |
|---|---|---|
| Cultural | Sharing a local and authentic tradition | Gatherings around craft workshops |
| Ecological | Reduction of carbon footprint, reasoned consumption | Use of ethical or recycled fur |
| Economic | Limitation of expenses on winter accessories | Homemade manufacturing at lower cost |
| Educational | Manual learning and valorization of the craft | Transmission between generations |
Mastering how to make a fur Russian toque exclusively by machine, or by combining various techniques, is an open door to a rewarding activity in many respects. It is essential to keep in mind that every step counts to create a durable and beautiful product, reflecting a craft that blends history and modernity.
Comments
Comments are coming soon.